
Hoy many of us are guilty of this? We edit and polish to death every single word of our professional description in LinkedIn (or insert another Social Network name here) but when it’s time to upload our profile picture (an important part of our personal brand) we drop the ball. We reuse a dark & blurry picture somebody took at the New Year Party (Hey, I was wearing a suit and tie!) or worst yet, leave the picture blank and people see the default avatar.
Ideally we could all afford the services of a professional headshot photographer but in this day and age when everybody has a decent camera in our back pocket we can get good results if we follow these three simple steps.
Step 1. Prepare beforehand and choose your wardrobe
Plan ahead the day of you photo shoot and make sure you are well groomed (a little makeup for the ladies). Choose simple clothing that represents your particular style in a professional manner.
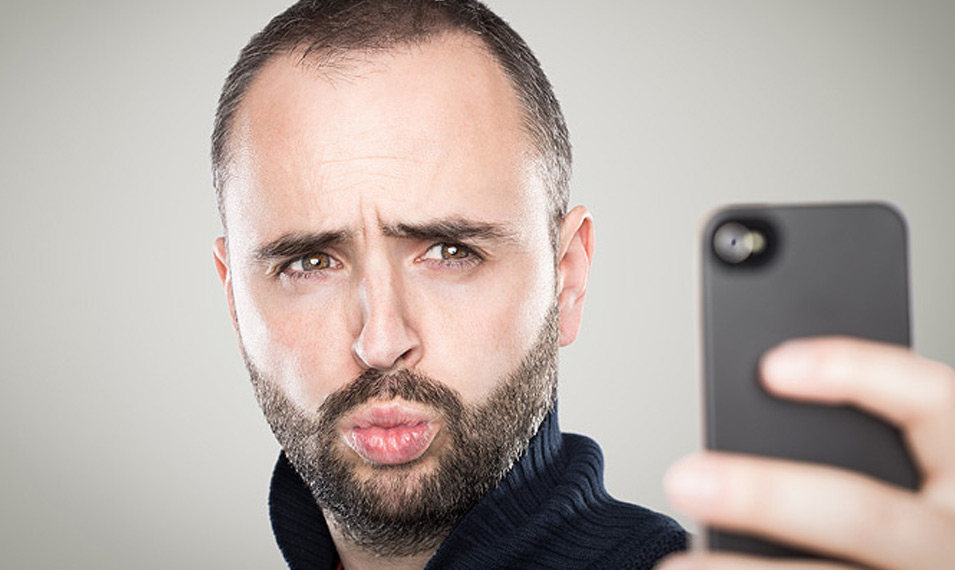
Please don’t take the infamous selfie; ask for someone else to take the picture for you. Avoid camera distortion; the farther away you are from the camera the better your face will look. If there’s nobody available use your camera’s self-timer feature. If you are using your smartphone it’s very easy.
Smile and choose the best camera angle that flatters you, it’s all about the jawline. There’s a video by Peter Hurley (A famous NY headshot photographer) where he explains this perfectly. Believe me, with more that 1.5 million views it’s worth watching.
Step 2. find a well-lit & uncomplicated spot
Good illumination is basic for taking a good shot. Avoid taking the picture at night, using artificial lighting or with your camera’s built-in flash. Natural lighting is your best ally. You just need to find a well-lit place where you won’t receive direct sun rays in your face to avoid hard shadows. Use some corner with indirect lighting that gives you soft shadows. If you take the photo indoors the ideal place is near a window if you take it outside place yourself under a roof or tree, or besides a shadowed wall.
Besides thinking of the illumination you also need to find a nice and simple background for your picture. Avoid a distracting or busy backdrop, remember that you are the most important part of this picture. If your camera allows it use depth of field to get a blurry background.
Step 3. Crop and color correct your picture
Once you choose the picture you like best the next step is to edit it. What does this mean? You can color correct unwanted color tones, lighten dark areas and shadows, convert your picture to black and white or apply a retro Instagram-like filter that are in fashion now.
For this you will need an image editing software or an online service. You can start by cropping it and eliminating the extra area around it. Don’t be afraid to crop it close. Remember also that most profile pictures use a square format.
As a Graphic Design professional and amateur photographer my preferred tool is Adobe Photoshop. But there are other cheaper (or free) alternatives out there. If you are also a photography enthusiast, I’d recommend in investing on one of them. If you are only doing this once or twice a year to have a current picture of yourself the free options work great.
Here are some Software recommendations:
- Photoshop Elements – $99 USD / Photoshop on the cheap, aimed for hobbyists. It’s user friendly, easy to use and has a lot of additional features to edit your images. For example a “clone” tool to erase unwanted parts of your photographs like a stray hair.
- Affinity – Free / Professional Photoshop alternative by Canva.
I hope you found these practical tips useful and they helped you to update your profile picture.